
We often recommend using Modular Integrated Landscaping Systems (MILS), but many LEGO builders still prefer working on a standard baseplate — it’s simple, familiar, and more cost-efficient. The challenge comes when your build is finished, yet you want to add a little something extra that just doesn’t fit within the confines of a baseplate.
For example, one of the biggest struggles for modular building displays is finding a shelving unit that will perfectly fit a row of builds. The shelves you choose will usually leave extra space at the sides (unless you modify the IKEA Billy Bookcase). Instead of leaving that space empty, you could fill it with a narrow alleyway, a small park, or another side detail that complements your build.
Another example is to make minifig showcase builds or special scenes to attach to your MOCs. Let’s say you’ve built an amazing Hoth MOC from Star Wars The Empire Strikes Back on a baseplate and you want to include the iconic Wampa ice cave with Luke hanging upside down. You could add it as a small offset side module anywhere you like. You could also build up snowy bank outcroppings along the edges of the baseplate build to create extra depth and texture without disrupting the main layout.
Whatever your needs are for connecting a LEGO baseplate to a regular plate here are some techniques to help with your future creations:
Method 1

This method of connecting a baseplate to a regular plate requires two (2) LEGO 4070 Brick Modified 1×1 with Headlight (angular brick 1×1) pieces. The attachment is made by connecting one of the pieces on its back side to the plate and connecting the bottom of the piece to the front of piece 4070, which is connected to the baseplate in an upright position.

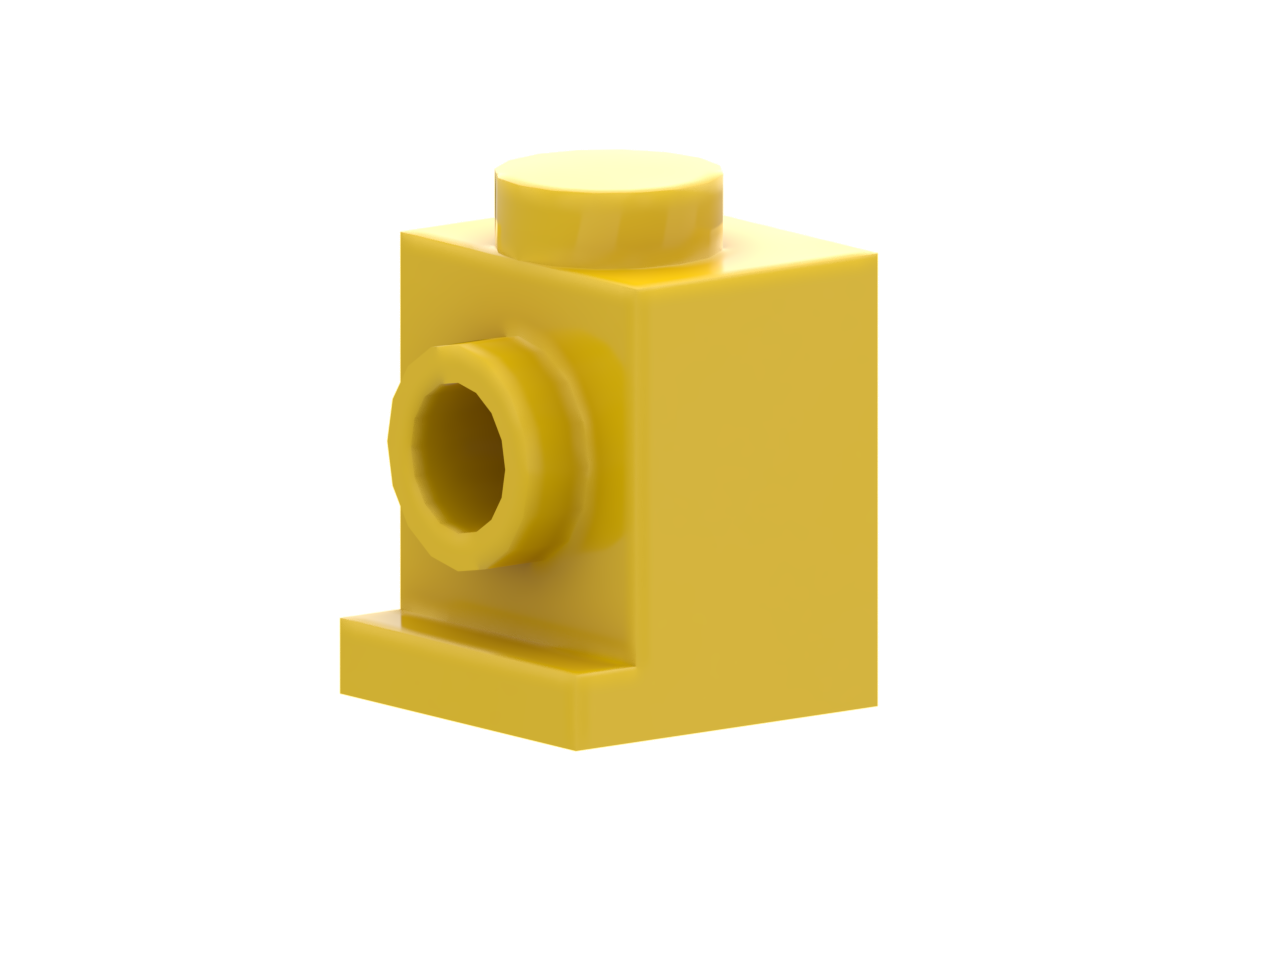
This connection works great. However, with the 4070 piece on its back the top stud prevents you from using the second stud on the plate.
Method 2

In method two, we use one(1) LEGO 99206 Plate Modified 2 x 2 x 2/3 with 2 Studs on Side (Plate 2X2X2/3 with 2 Horizontal Knob) and one (1) Technic Brick 1 x 2 with Holes (Brick 1X2 with 2 Holes Ø 4,87). Here we connect the Technic brick to the baseplate and the modified plate to the plate allowing us to connect the horizontal studs (knobs) to the technic brick.


This is our preferred method of connecting the baseplate to the plate. However, this may be considered “illegal” as you are only supposed to connect one (1) stud to a Technic brick hole for decoration use. Because there is no significant weight applied to the connection we see no issue with it, but you may want to check the guidelines if you are building for something specific. BrickNerd has a fantastic article by Oscar Cederwall Illegal SNOT: Stressful Techniques For Sideways Building that explores a lot of different SNOT techniques and what you can and “cannot” do. For us, we just want to be creative and build, so most “illegal” techniques we ignore. Besides, they’re our bricks so we can do what we want with them.